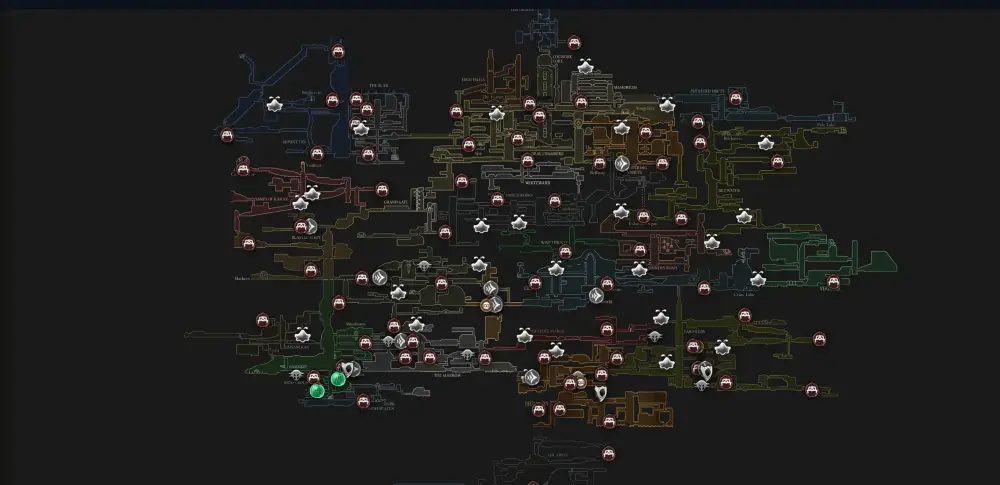
The Sands of Karak introduce expansive desert environments with challenging wind mechanics and long-distance traversal. This exposed region features shifting sands, powerful crosswinds, and elevated sniper positions that demand strategic movement and careful planning. The vast open spaces require different tactics than enclosed areas, emphasizing visibility control and wind management for successful exploration.
Overview
Wide, wind‑touched spans with intermittent shelter. Platforming emphasizes drift control and sightlines—expect ranged enemies posted on ridges and long runs between safe rooms.
How to Get to Sands of Karak
- Primary route: From Blasted Steps, push through wind-heavy climbs and crosswind platforms. This path trends south of Mount Fay.
- Mobility: Gliding or later movement abilities greatly reduce risk on exposed ledges and long gaps.
- Bench safety: Stabilize at the first reachable bench before attempting long desert crossings.
Map Highlights
- Benches: Anchor long treks; always grab the next safe rest.
- Via Bells: Vital for sandway shortcuts and return scouting.
- Merchant: Shakra can camp along a mid‑region corridor—buy the Sands of Karak map when you hear humming.
Get the Sands of Karak Map (Shakra)
- Approach: Often reached from Blasted Steps after a wind‑heavy climb.
- Humming: Shakra's alcove sits off a main corridor; purchase the map and rest to update.
- QoL: Pair map with Quill/Compass for long runs.
Hazards & Traversal
- Wind: Use short hops; avoid chaining dashes into crosswinds.
- Exposed spans: Clear high perches before crossing open ground.
- Refresh points: Plan paths heater‑to‑bench if coming from colder biomes.
Route Tips
- Visibility: Scout upper perches first to avoid ambushes.
- Segmenting: Travel bench‑to‑bench; unlock bellways early to reduce dead travel.
- Links: Connects to Blasted Steps and mid‑regions.
Connections
- North/East: Ridges that loop back toward Mount Fay
- West: Climbs from Blasted Steps
- Network: Desert bells that shorten return trips across exposed spans
FAQ
How do I reach the Sands of Karak?
The Sands of Karak is commonly accessed from Blasted Steps after navigating wind-heavy climbing sections. Watch for wind-exposed transitions that signal entry into the desert region.
Where can I find the map vendor?
Shakra camps in a side alcove off a main corridor within the Sands of Karak. Listen for her distinctive humming sound and purchase the area map to improve navigation across the vast desert spans.
What movement abilities help in the desert?
Wind control becomes much easier with gliding abilities, while later movement tools simplify ridge climbing and long-distance traversal. See our wind gliding guide for details.
How do I handle the wind mechanics safely?
Use short hops instead of chaining dashes into crosswinds. Plan your movement during wind lulls and avoid committing to long jumps when wind patterns are unpredictable.
What makes Sands of Karak strategically challenging?
The area's wide-open spaces and elevated sniper positions require careful visibility management. Scout upper perches first to avoid ambushes during exposed crossings, and always plan bench-to-bench routes.
Related Guides
Sources
- YouTube — Sands of Karak map location example: https://www.youtube.com/watch?v=iJAbfd8sbxw
Open Interactive Map (All Areas)
Opens the full interactive Silksong map in a new tab.

