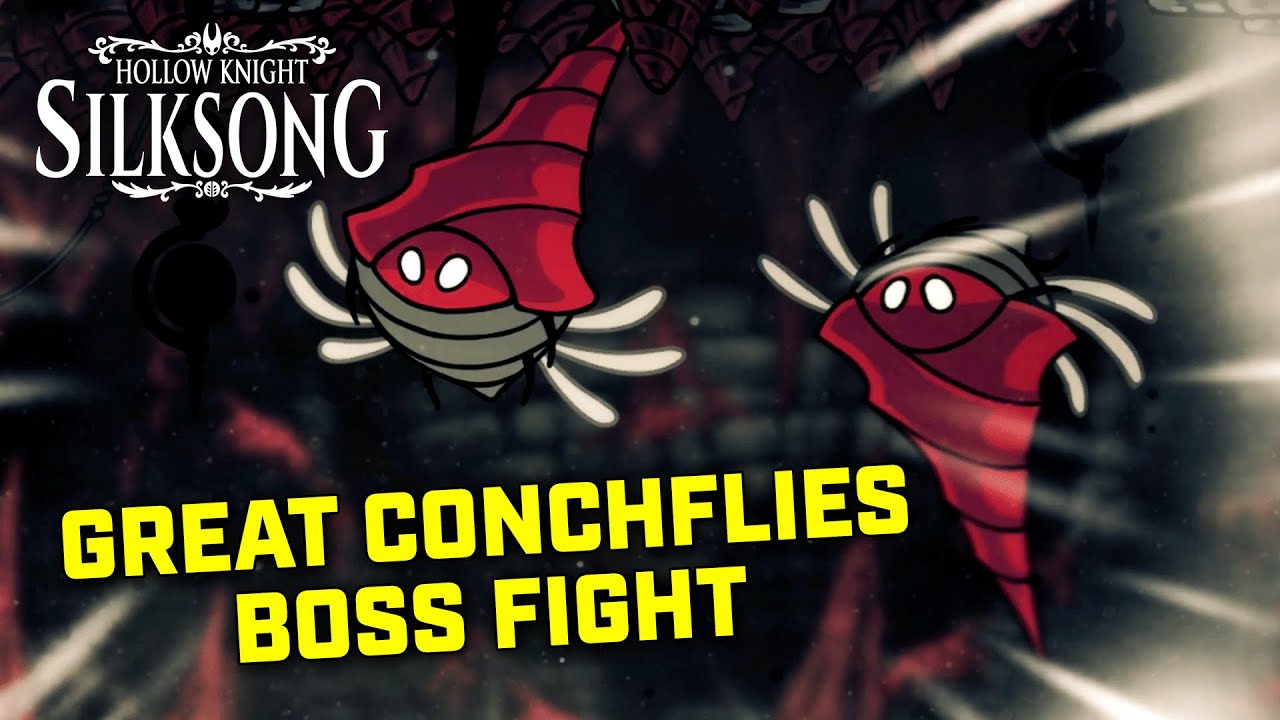
The Great Conchflies present a unique dual-boss encounter in Blasted Steps, where two large flying enemies attack simultaneously with coordinated drill patterns. This optional fight offers valuable rewards including access to Needle Strike and western progression routes. The encounter features a distinctive win condition: defeat either Conchfly and the survivor will retreat, immediately ending the battle.
Summary
- Location: Blasted Steps (upper‑west niche off a climb‑heavy route).
- Win condition: Defeat either Conchfly; the survivor flees and the fight ends.
- Difficulty: Moderate—mechanics‑light and pattern‑driven with tight arena spacing.
- Reward: Opens the western path toward the Pinstress's hut and Needle Strike (charged attack).
Location & Route
- Region: Blasted Steps, upper‑west. From within the zone, climb the right wall with Cling Grip, ascend across small platforms, then cut back up‑left to a doorway marked by a blue banner—the arena entrance.
- Prep: Cling Grip (wall‑movement) is strongly recommended; the approach is climb‑heavy.
- Visual: The video shows the exact doorway and the short runback path.
Moveset → Safe Counters
- Drill Dash: Bursts from a wall, crosses the arena, exits the opposite wall. Watch wall shakes; short‑hop and forward‑slash as it passes.
- Drill Slam: Pops up then drills straight down. Sidestep, then take 1–2 free hits on landing recovery.
- Conch/Drill Spit: Hovers and spits a bouncing projectile. Use the bounce spacing for a safe heal or tag it between bounces if confident.
Phase/end: When one Conchfly falls, the other roars and retreats—fight ends immediately.
Step‑by‑Step Strategy
- Hold center line. Mid‑arena positioning maximizes time to read Drill Dashes.
- Prioritize Slam punishes. That recovery window is your highest‑value damage.
- Heal on Spit. One pip is safe while the projectile travels and rebounds.
- Focus fire. Track the more grounded Conchfly (often the lower one) and burst it down.
Recommended Loadouts
- Tool: Warding Bell to cover heals in the tight arena and punish contact.
- Ability: Threadstorm for quick AoE when both overlap after a Slam.
- Crest: Reaper Crest to widen arcs for consistent tags during pass‑bys.
Rewards & Progress
- Western Blasted Steps route opens, leading quickly to the Pinstress's hut where you can learn Needle Strike.
- Optional encounter but recommended for the upgrade and routing convenience.
Tips & Common Mistakes
- Don't chase toward walls after a Dash—reset center to avoid blind entries.
- Don't trade inside Slam—step out, then punish recovery.
- Keep heals short—take one pip during Spit, then re‑center.
FAQ
Is the Great Conchflies fight required for progression?
No, this is an optional encounter. However, it opens useful western routes in Blasted Steps and provides access to the Pinstress's hut for learning Needle Strike, making it highly recommended.
What's the fastest strategy to win this fight?
Focus all damage on one target and capitalize on every Slam punish opportunity. Since the fight ends when either Conchfly dies, you only need to defeat one enemy.
Do I need specific abilities to reach the arena?
Cling Grip (wall-movement) is strongly recommended for the climb-heavy approach route. The arena is located in the upper-west section behind a blue banner doorway.
What makes this fight unique compared to other bosses?
The immediate retreat mechanic when one boss dies makes this one of Silksong's shortest potential boss fights. The dual drill patterns require different positioning than typical single-boss encounters.
What rewards do I get for winning?
Victory opens the western Blasted Steps route, leading to the Pinstress's hut where you can learn Needle Strike (charged attack). This early upgrade significantly improves combat options.
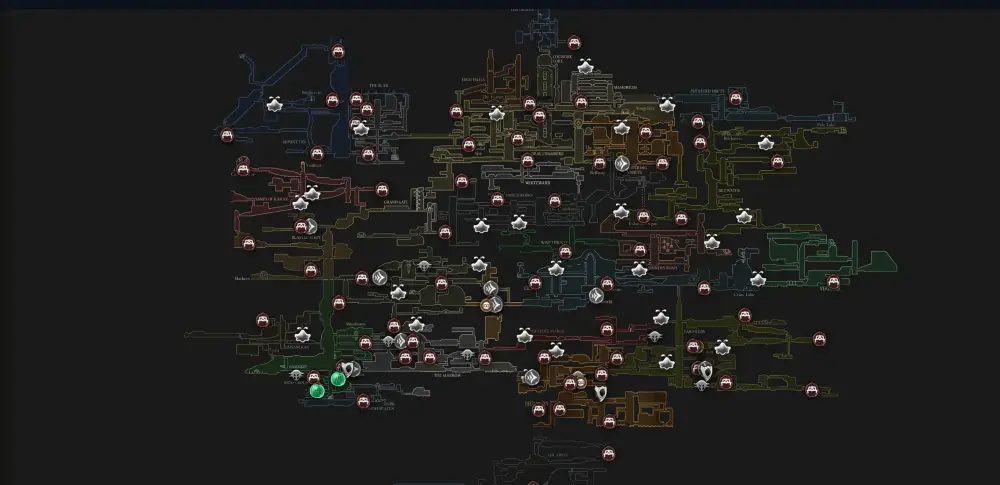
Open Interactive Map (All Areas)
Opens the full interactive Silksong map in a new tab.


