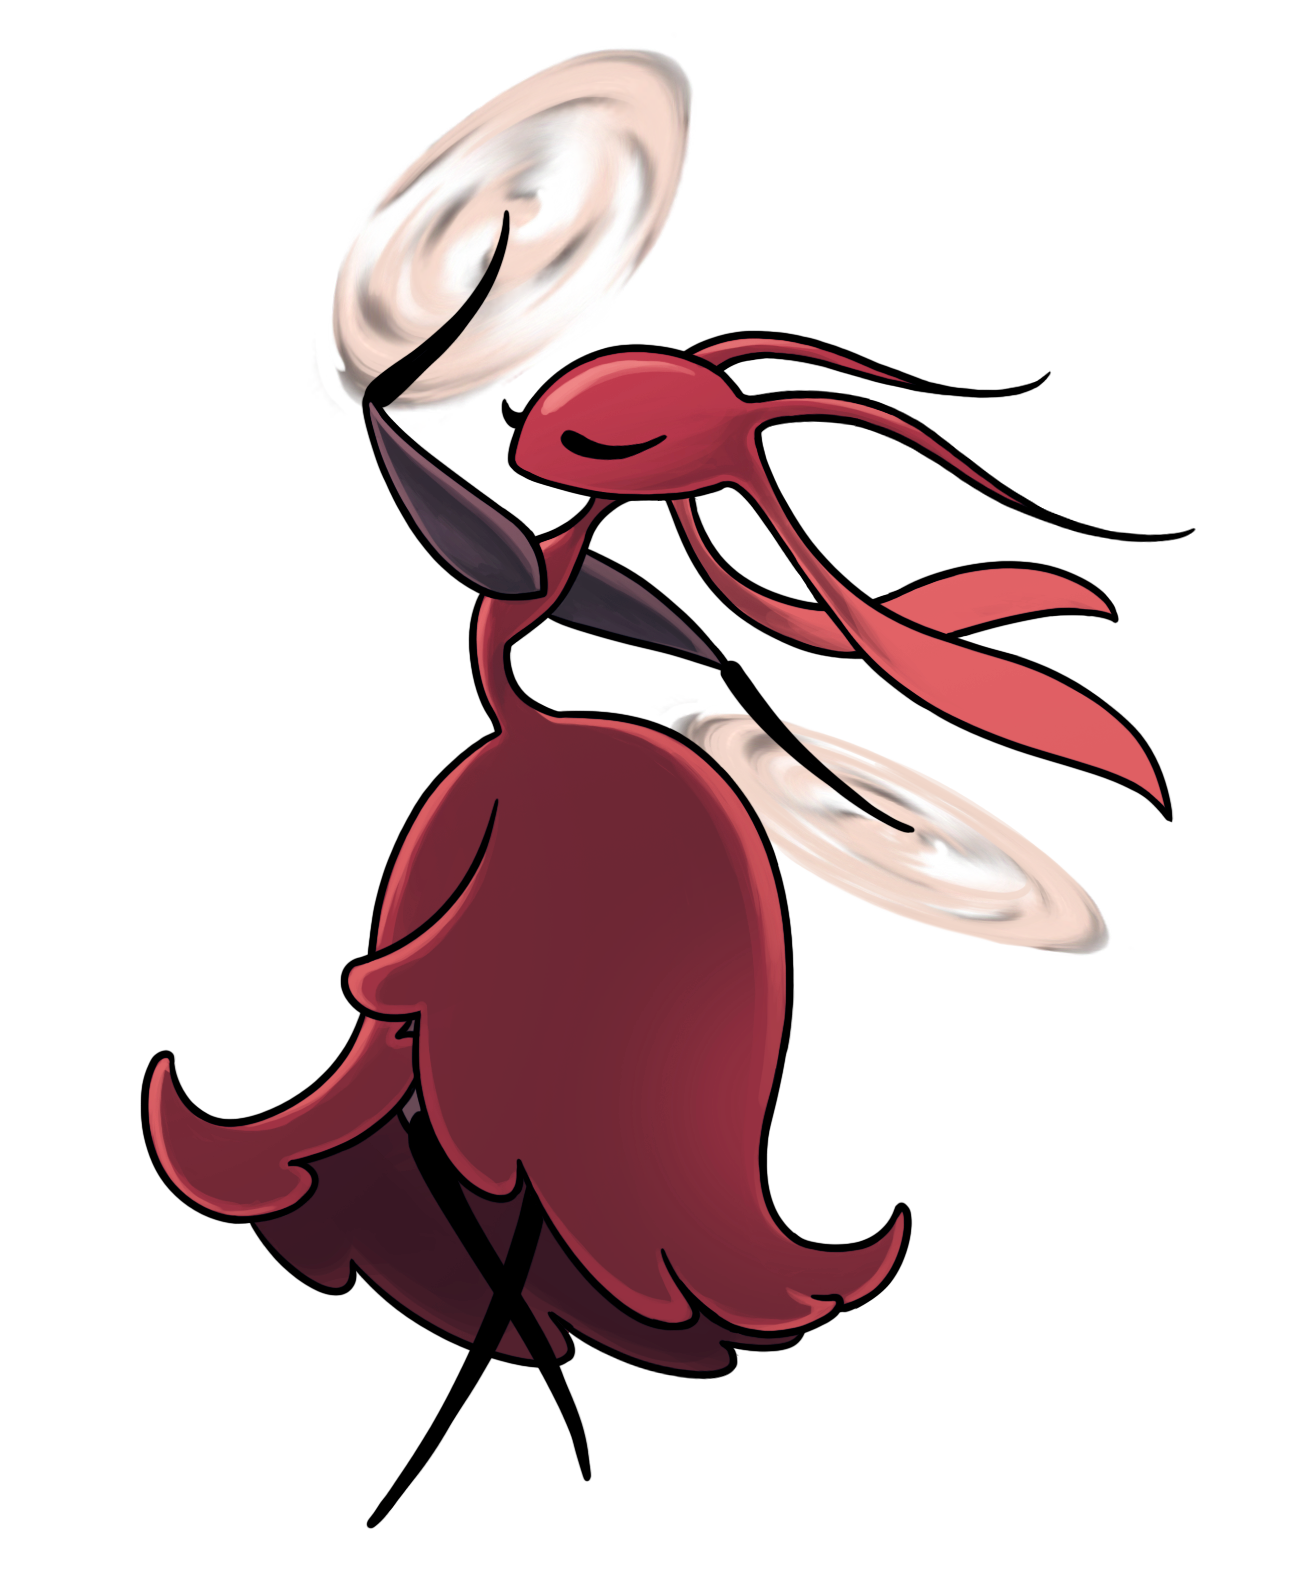
Hunter Queen Carmelita represents one of Silksong's most intense pressure-focused boss encounters, demanding precise spacing and quick decision-making. This formidable duelist tests your ability to manage distance, interrupt charges, and capitalize on brief recovery windows. Success requires understanding her aggressive patterns and maintaining composure under constant pressure.
Hunter Queen Carmelita
This guide summarizes what’s visible in official trailers and broadly accepted community observations. Specifics may change in final release builds.
Quick Overview
- Also known as: Skarrsinger Karmelita (community/press kit naming).
- Role: pressure duelist who compresses space and forces decisions.
- Win condition: bait rushes, avoid cornering, punish post‑rush recoveries.
- Common fails: over-committing into chained rushes; swinging early into feints.
Strategy Pillars
- Spacing discipline: maintain mid‑range to keep reaction time for rush/leap.
- Interrupt windows: only tag on hard stops or after blade twirls land.
- Route the arena: avoid getting walled by balconies and pillars; rotate lanes.
Quick Facts
- Title: Hunter Queen Carmelita
- Category: Boss (pressure duelist)
- Seen in: auditorium arena with ant spectators (reveal trailer)
Location & Access
- Encountered as part of broader city progression; plan for a modest runback.
- In most community routes, defeating Carmelita is treated as unlocking the Citadel approach. See the 100% Completion Route for planning context.
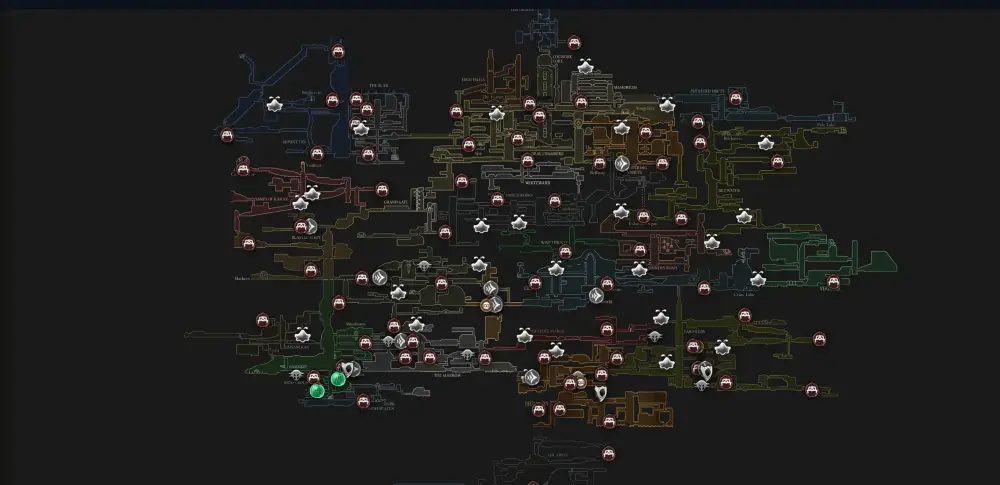
Open Interactive Map (All Areas)
Opens the full interactive Silksong map in a new tab.
Moveset → Counters
- Charging Rush: Pre‑position, then sidestep or short‑hop the lane. Only punish on the true stop—she can chain a second step.
- Blade Twirl/Arc Swipes: Hold just outside arc radius; re‑enter immediately after the final twirl for a single, safe poke.
- Leap → Ground Spikes: Track the leap apex; buffer a micro‑dash on landing to avoid spike tiles, then take a quick punish.
- Baited Ranges: Hold mid‑range and react late; don’t dash on the first tell to avoid eating a feint.
Recommended Loadouts
- Crests: prioritize mobility with a touch of sustain (safer heals after rush stops).
- Tools: include one fast conversion to capitalize on brief end‑lags.
- Playstyle: one‑and‑done punishes; don’t extend strings unless corner advantage is guaranteed.
Rewards & Progress
- Opens onward routes and checkpoints; a clean exam in pressure management.
- Often placed before Citadel approach in common route planning.
Tips & Common Mistakes
- Don’t commit into chained rushes—wait for the true stop, then poke.
- Rotate away from walls to avoid getting trapped during twirls.
- If unsure, skip a punish rather than trade—her tempo favors her.
Safe Heals (Likely)
- After a full rush stop (no immediate follow‑up), you typically have time for 1 quick heal.
- Post‑leap landing if spikes don’t spawn under you; confirm first, then tap heal.
FAQ
Where do I encounter Hunter Queen Carmelita?
Carmelita is faced during broader city progression routes. Plan for a modest runback from the nearest bench to the arena location.
What makes Carmelita challenging as a boss?
Carmelita specializes in pressure tactics, constantly forcing movement and decision-making. Her charging rushes and arc swipes create minimal safe zones, requiring precise timing and spacing skills.
What's the best strategy for her charging attacks?
Pre-position yourself before her rush begins. Sidestep or jump over the charge, then immediately punish during her recovery stop. Don't chase into follow-up charges.
Which loadouts work best against Carmelita?
Combine mobility crests with sustain options. Include one fast conversion tool to capitalize on her brief end-lag windows after major attacks.
How do I handle her ranged attacks safely?
Hold mid-range positioning and react late to her ranged tells. Avoid dashing immediately on the first telegraph - wait for the actual projectile before committing to movement.
Related Bosses
Open Interactive Map (All Areas)
Opens the full interactive Silksong map in a new tab.


