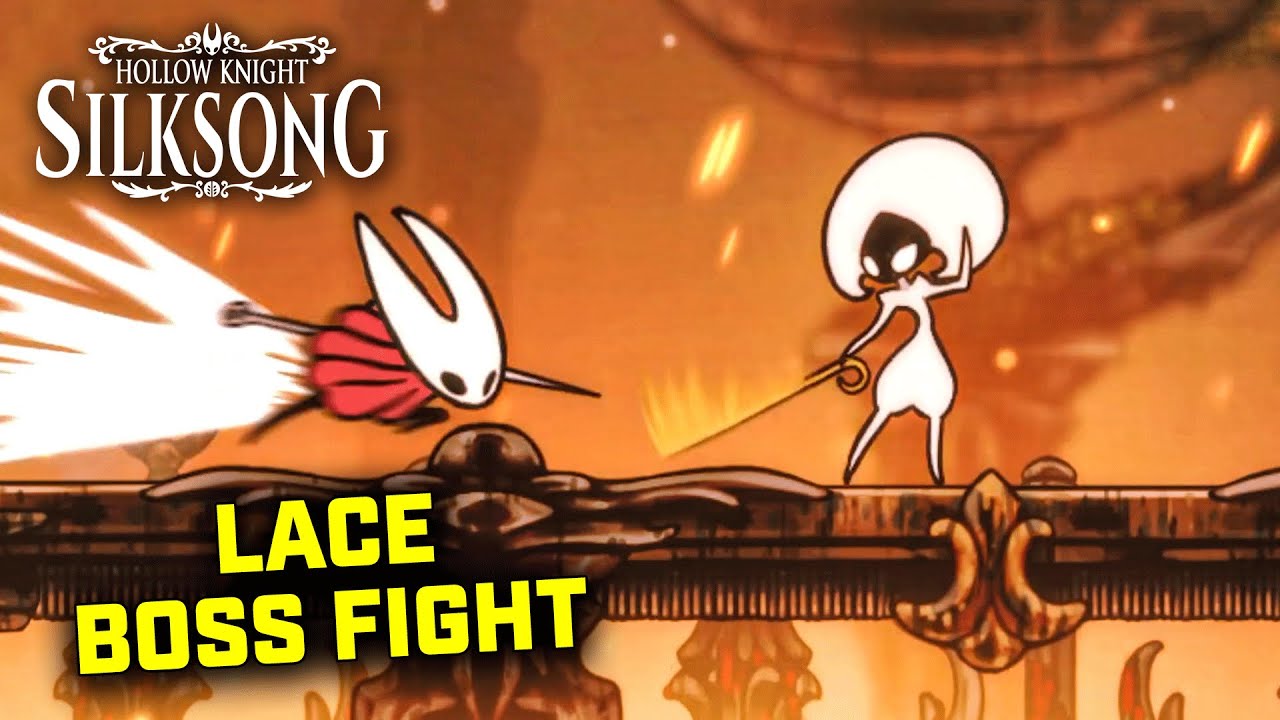
Lace Boss Fight Guide - Hollow Knight: Silksong
Lace stands as one of the most challenging agile duelists in Hollow Knight: Silksong, demanding precise timing and flawless spacing to defeat. This lightning-fast boss in Deep Docks tests your mastery of movement and patience, punishing aggressive players with devastating counter-attacks. Our comprehensive guide covers everything you need to know to emerge victorious.
Boss Overview
Lace is an elite warrior who serves as a major skill check in Hollow Knight: Silksong. Her combat style revolves around rapid dash attacks, precise needle strikes, and deceptive feints that can catch even experienced players off-guard. Success against Lace requires:
- Perfect spacing control - Staying at optimal range to punish her attacks
- Patience over aggression - Waiting for genuine openings rather than forcing damage
- Movement mastery - Using all available mobility tools effectively
- Pattern recognition - Distinguishing between her feints and actual commitments
Location & Access Requirements
Lace is encountered in the Deep Docks area of Pharloom, accessible after progressing through several key story beats. To reach this boss fight:
- Progress through the main story until Deep Docks becomes available
- Navigate the vertical climbing sections and tight platforms
- Ensure you have mobility upgrades for the challenging terrain
- Stock up on healing items and prepare your loadout before the encounter
The arena itself features multiple platforms with limited space, making positioning crucial for survival.
Complete Attack Pattern Analysis
Phase 1: Opening Assault
Dash Thrust
- Tell: Lace crouches briefly and aims toward your position
- Counter: Sidestep or jump-cancel at the last moment
- Punish: Land 1-2 hits during her recovery frames
- Common Mistake: Dodging too early gives her time to adjust trajectory
Cross Slash
- Tell: Needle glows as she positions for the X-pattern attack
- Counter: Stay outside the cross pattern's reach
- Punish: Approach from the safe side during recovery
- Advanced Tip: The safe spots are at 45-degree angles from her position
Needle Toss
- Tell: Brief windup as she prepares throwing stance
- Counter: Maintain mid-range and react to projectile path
- Punish: Approach during throw recovery, but watch for follow-ups
- Warning: Don't panic-dash into her subsequent attacks
Phase 2: Aggressive Combinations
As Lace's health decreases, she chains attacks together more frequently:
Dash-Cross Combo
- Immediately follows successful dash with cross slash
- Counter by creating distance after avoiding the dash
- Never try to punish the dash if you see cross preparation
Feint Patterns
- Lace begins using false commitments to bait premature responses
- Watch for her stance - true attacks have longer windups
- Only commit to punishing after her weapon fully extends
Optimal Loadout Strategies
Recommended Crests
-
Mobility Crests - Essential for spacing control
- Increases dash distance and air control
- Reduces landing lag for better positioning
-
Defensive Options
- Modest sustain to buffer chip damage
- Dodge window extensions for tight timing
-
Damage Optimization
- Focus on tools that complement hit-and-run tactics
- Avoid slow, high-commitment attacks
Weapon Recommendations
- Quick Poke Tools: Reach her post-dash positioning safely
- Area Control: One AoE option to stabilize scrambled situations
- Avoid: Heavy weapons with long recovery times
Battle Strategy Breakdown
Early Fight (100-70% Health)
- Focus on learning her patterns without taking unnecessary risks
- Prioritize perfect dodges over damage opportunities
- Establish comfortable spacing ranges
Mid Fight (70-30% Health)
- Begin capitalizing on recognized patterns
- Maintain disciplined approach - avoid greed
- Watch for combination attacks starting to appear
Final Phase (30-0% Health)
- Expect faster attack chains and more feints
- Stay patient despite pressure to finish quickly
- Keep healing opportunities in reserve
No-Hit Strategy Guide
Achieving a no-hit victory against Lace requires mastering these principles:
Spacing Fundamentals
- Optimal Range: Stay just outside her dash thrust range
- Wall Awareness: Never get cornered - always plan escape routes
- Center Control: Reset to arena center when spacing collapses
Timing Mastery
- Pattern Recognition: Distinguish between feints and real attacks
- Punish Windows: Only attack during guaranteed recovery frames
- Patience Training: Practice waiting for perfect opportunities
Advanced Techniques
- Bait Rotations: Draw out specific attacks for easier counters
- Spacing Manipulation: Control distance to force favorable patterns
- Recovery Management: Always maintain escape options
Rewards & Progression Impact
Immediate Rewards
- Geo: Substantial currency reward for purchases
- Experience: Significant skill development for later encounters
- Story Progress: Advances Deep Docks narrative
Area Unlocks
- Opens deeper routes into Pharloom's industrial section
- Provides access to new checkpoints and fast travel points
- Unlocks merchant interactions and upgrade opportunities
Long-term Benefits
- Skill Transfer: Techniques learned apply to other agile bosses
- Confidence Building: Establishes foundation for harder encounters
- Strategic Understanding: Develops patience-based combat approach
Common Mistakes & Solutions
Overcommitment Issues
- Problem: Chasing after missed opportunities
- Solution: Accept missed chances and reset positioning
- Prevention: Plan escape routes before engaging
Panic Responses
- Problem: Button mashing when pressured
- Solution: Practice calm, deliberate inputs
- Prevention: Slow down and focus on one attack at a time
Spacing Errors
- Problem: Getting cornered against walls
- Solution: Prioritize center control over damage
- Prevention: Always maintain multiple movement options
Frequently Asked Questions
Q: What's the minimum level recommended for fighting Lace? A: While there's no strict level requirement, having at least 2-3 needle upgrades and 6-7 masks makes the fight more manageable.
Q: Can I use ranged attacks effectively against Lace? A: Ranged options work, but her mobility makes them less reliable than melee punishes during recovery windows.
Q: How do I know when it's safe to heal? A: Healing is safest after her cross slash attack when she's locked in recovery animation.
Q: What happens if I die during the fight? A: You'll respawn at the nearest bench and need to return to the arena to attempt the fight again.
Q: Are there any environmental hazards in the arena? A: The main hazard is the limited platform space - avoid getting pushed off edges during combat.
Related Guides & Areas
- Deep Docks Area Guide: Complete exploration of Lace's home region
- Agile Boss Strategies: General techniques for fast-moving enemies
- Advanced Combat Guide: Mastering spacing and timing
- No-Hit Achievement Guide: Tips for perfect boss encounters
- Needle Upgrade Locations: Power up before the fight
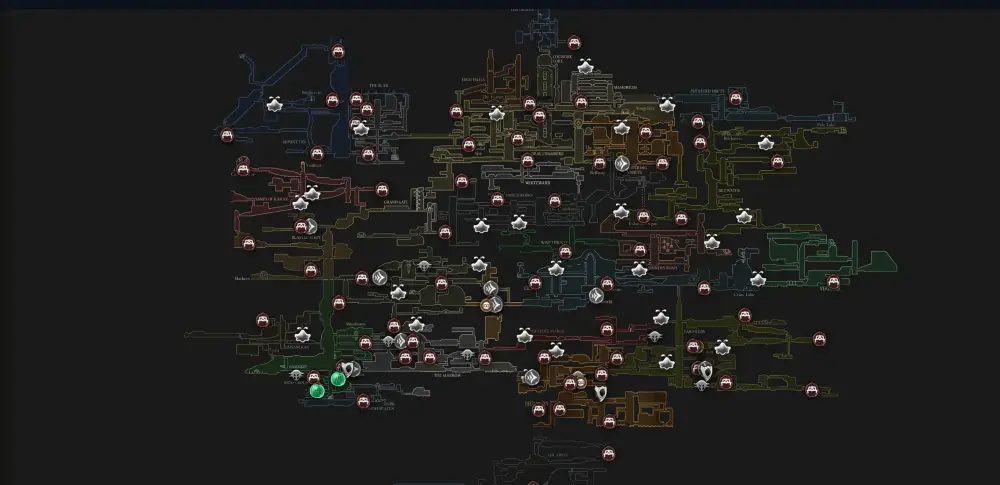
Open Interactive Map (All Areas)
Opens the full interactive Silksong map in a new tab.


