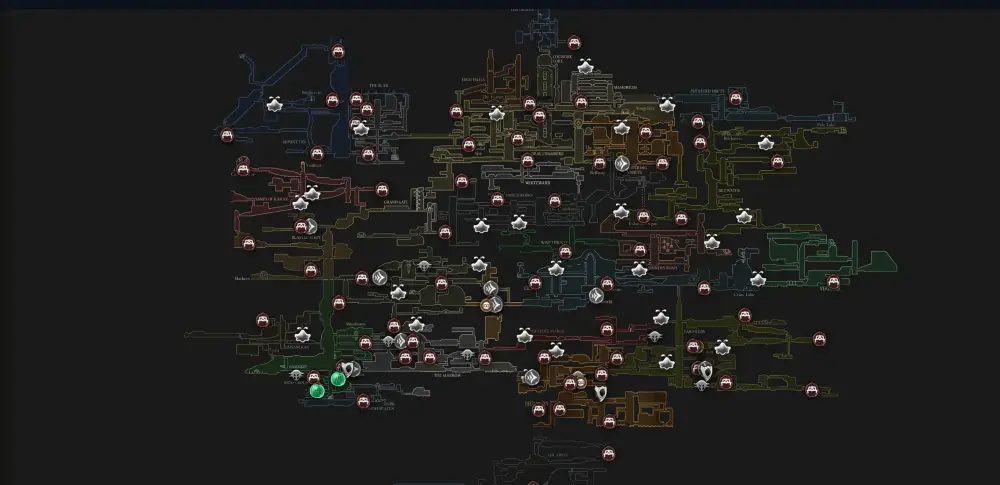
Loading area map...
Overview
Low visibility and close‑range fights among dense brush. Expect ambushes, tight movement, and a mid‑region boss encounter. Some approaches are far safer with late mobility (e.g., double jump/gliding from Mount Fay).
Map Highlights
- Benches: Near clearings—always secure the next.
- Via Bells: Turn long runs into quick hops once activated.
- Merchant: Check for Shakra to buy the area map; humming marks her location.
How to Get to Wisp Thicket
- Approach: From neighboring green corridors and mid‑regions; movement upgrades improve safety.
- First steps: Stabilize with a nearby bench, then find Shakra to chart the thicket.
- Mobility check: Double jump/gliding from Mount Fay makes vertical lanes far safer.
Get the Wisp Thicket Map (Shakra)
- Approach: Reached from neighboring green corridors and mid‑regions; mobility helps.
- Find Shakra: A side clearing off the main brush path; purchase the map and rest to update parchment.
- Note: If under‑leveled on movement, consider returning later for a smoother climb.
Hazards & Traversal
- Audio cues: Listen for patrols in tall brush.
- Brush lanes: Use cautious advances; reveal enemies before committing to jumps.
- Mobility: Double jump/gliding greatly improves reach and safety.
Route Tips
- Bench first: Stabilize at the nearest bench; fan out in short loops.
- Boss prep: Plan for a mid‑region boss; bring survivability crests and resources.
- Links: Ties into central routes and Verdania.
Related Guides
FAQ
- How do I reach Wisp Thicket? From neighboring green corridors; mobility like double jump/gliding makes access safer.
- Is there a boss here? Yes—be prepared for a mid‑region encounter tied to a key tool.
- Where is the map? In a side clearing; listen for Shakra’s humming and purchase the area map.
Sources
- YouTube — Wisp Thicket access/tool context: https://www.youtube.com/watch?v=NF5_R6VToX4
Open Interactive Map (All Areas)
Opens the full interactive Silksong map in a new tab.

