Bell Beast Boss Fight Guide - Hollow Knight: Silksong
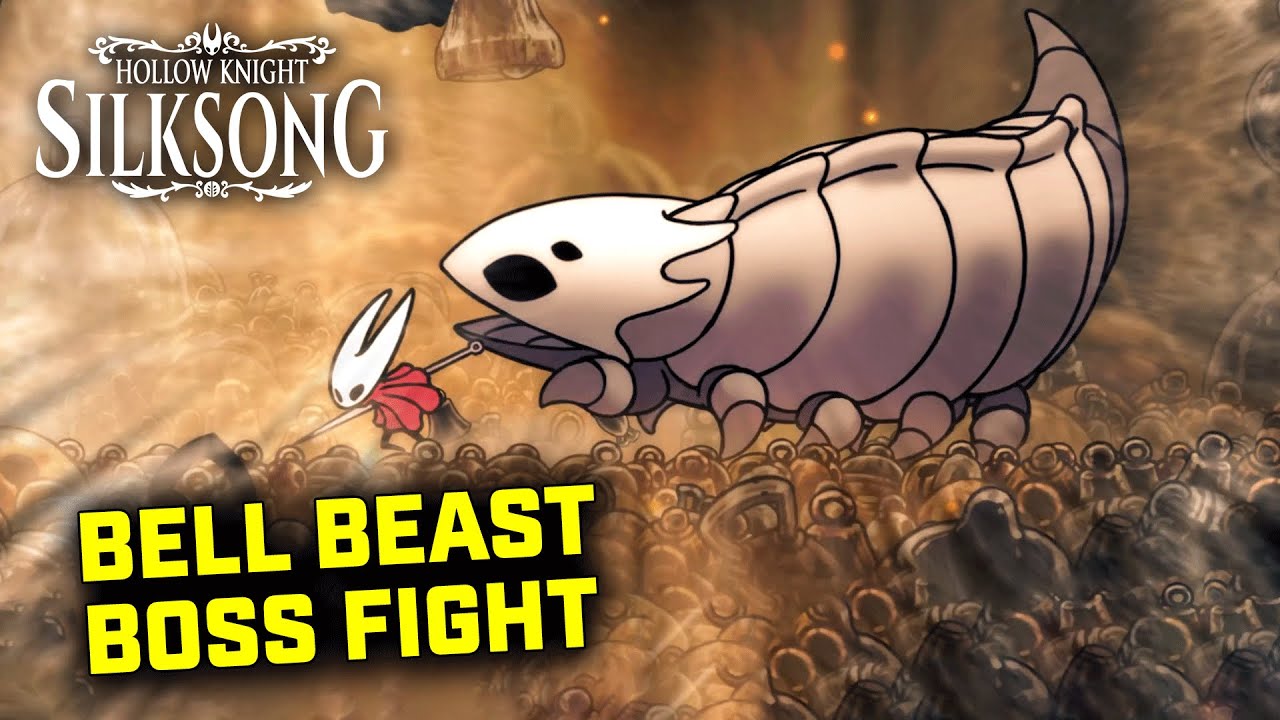
The Bell Beast stands as a formidable guardian in The Marrow, wielding massive bell weapons and creating explosive hazards that test your positioning and patience. This heavy-hitting boss punishes aggressive approaches while rewarding calculated strikes and precise spacing. Master the rhythm of its attacks to unlock deeper areas of The Marrow.
- Area: The Marrow
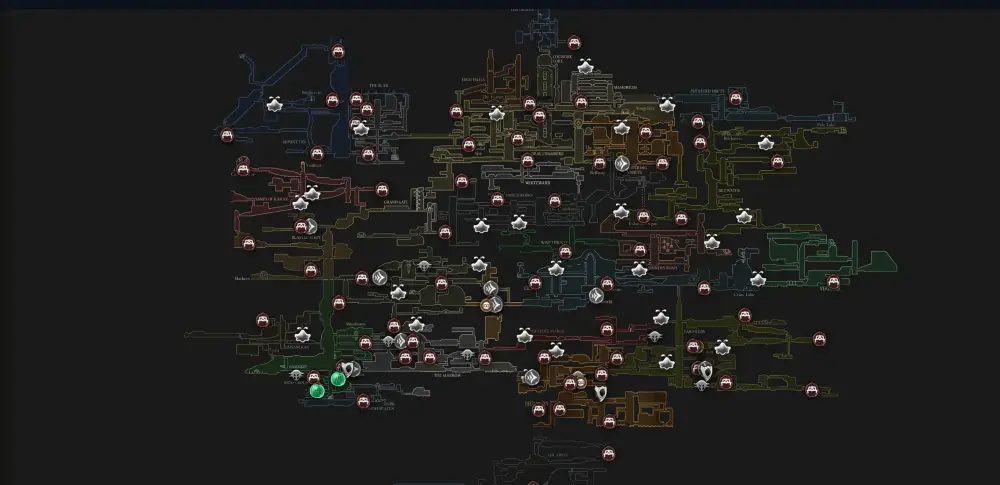
- Map coordinates: (2203, 2686)
Boss Overview
The Bell Beast represents a classic heavy-hitter archetype in Hollow Knight: Silksong, emphasizing timing and positioning over rapid reflexes. This boss teaches fundamental skills for dealing with:
- Telegraphed attacks - Learning to read long windups
- Area denial - Managing explosive debris and environmental hazards
- Punish windows - Capitalizing on brief vulnerability periods
- Patience-based combat - Resisting the urge to force damage opportunities
Understanding the Bell Beast's patterns is crucial for mastering similar heavy bosses throughout Silksong.
Location & Arena Analysis
Getting There
The Bell Beast encounter takes place in The Marrow's central chambers, accessible through:
- Progress through The Marrow's early sections
- Navigate falling platform sequences
- Clear smaller enemies guarding the approach
- Enter the large circular arena with elevated platforms
Arena Characteristics
- Platform Layout: Multiple elevated positions for tactical positioning
- Environmental Hazards: Falling debris from bell impacts
- Escape Routes: Several platforms allow repositioning during dangerous attacks
- Size Advantage: Large arena gives space to manage the beast's massive reach
Complete Attack Pattern Analysis
Core Attack Sequence
Bell Slam (Primary Attack)
- Telegraph: Bell Beast raises its weapon high with a distinctive wind-up
- Danger Zone: Large AoE explosion centered on impact point
- Counter Strategy: Back away during the rise, move in for punish during recovery
- Damage Window: 1-2 second vulnerability after each slam
- Common Mistake: Standing too close during the windup animation
Chain Throw → Retract
- Telegraph: Beast winds up for a forward chain launch
- Phase 1: Chain extends across arena in straight line
- Phase 2: Rapid retraction that can clip pursuing players
- Counter Strategy: Create initial distance, jump over retract path
- Safety Tip: Never chase the chain - wait for full retraction
Spinning Bell Attack
- Telegraph: Beast begins rotating with bell extended
- Radius: Covers most of the central arena space
- Duration: Extended spinning phase with consistent hitbox
- Counter Strategy: Stay at arena edges, perfect healing opportunity
- Advanced Tip: Use spin duration to reposition for next attack sequence
Phase Progression
Early Fight (100-60% Health)
- Attacks come in isolated, predictable patterns
- Generous recovery windows between attacks
- Focus on learning safe positioning and timing
Mid Fight (60-30% Health)
- Begins chaining attacks with shorter recovery periods
- More aggressive chain throws to control player positioning
- Environmental debris becomes more frequent hazard
Final Phase (30-0% Health)
- Faster attack transitions with less telegraph time
- Multiple explosive impacts per sequence
- Requires mastery of positioning and pattern recognition
Optimal Strategy & Loadout
Recommended Crest Setup
Mobility Focus
- Movement Speed: Helps with positioning during long telegraph phases
- Dash Enhancement: Better repositioning between platforms
- Landing Recovery: Reduces vulnerability when moving between levels
Defensive Options
- Damage Mitigation: Reduces chip damage from debris
- Health Regeneration: Sustain for longer fights while learning patterns
- Brief Invincibility: Extra safety margin during risky punish attempts
Weapon Selection
Ideal Characteristics
- Quick Startup: Fast attacks that can hit and retreat quickly
- Moderate Range: Reach the beast without overcommitting position
- Reliable Damage: Consistent output during brief windows
Avoid
- Slow Heavy Weapons: Recovery time conflicts with beast's attack rhythm
- Close-Range Tools: Dangerous due to explosive AoE attacks
- High-Commitment Abilities: Leave you vulnerable during beast's counter-attacks
Battle Execution Guide
Opening Strategy
- Study Patterns: Spend first 30 seconds observing attack sequences
- Test Range: Find optimal distance for each attack type
- Identify Safe Zones: Locate reliable positions for each attack
- Practice Timing: Get comfortable with punish windows
Mid-Fight Tactics
- Punish Prioritization: Focus on bell slam recoveries - safest damage windows
- Debris Management: Stay aware of falling environmental hazards
- Platform Usage: Use elevation changes to avoid ground-based attacks
- Healing Timing: Spin attack provides longest safe window
Final Phase Approach
- Pattern Mastery: By this point, all attacks should be predictable
- Consistent Execution: Avoid risky plays - stick to proven strategies
- Endurance Focus: Maintain concentration through extended fight duration
- Emergency Escapes: Keep healing items available for unexpected hits
Advanced Techniques
Positioning Mastery
- Mid-Range Control: Stay at optimal distance to punish without risk
- Platform Transitions: Use vertical movement to avoid ground explosions
- Wall Avoidance: Never get cornered against arena boundaries
- Spacing Prediction: Anticipate beast's positioning for next attack
Damage Optimization
- Multi-Hit Windows: Some slam recoveries allow 2-3 hits safely
- Movement Attacks: Hit while repositioning to maximize efficiency
- Chain Punishes: Capitalize immediately after retraction completes
- Spin Opportunities: Use long spin duration for positioning or healing
Common Mistakes & Solutions
Overaggression Issues
- Problem: Chasing the beast during dangerous animations
- Solution: Wait for guaranteed safe windows, prioritize survival
- Prevention: Count attack patterns, stick to proven timing
Position Mistakes
- Problem: Getting caught between beast and bell during retracts
- Solution: Always maintain awareness of chain positioning
- Prevention: Create perpendicular angles rather than following directly
Debris Management
- Problem: Taking unnecessary chip damage from environmental hazards
- Solution: Look up frequently, prioritize safe positioning over damage
- Prevention: Learn debris patterns, use platforms strategically
Rewards & Progression Impact
Immediate Benefits
- Geo Reward: Substantial currency for equipment upgrades
- Area Access: Opens deeper Marrow exploration routes
- Skill Development: Fundamental heavy boss combat techniques
- Checkpoint Unlock: New fast travel and progression points
Long-Term Advantages
- Pattern Recognition: Skills transfer to other heavy-hitting bosses
- Patience Training: Develops disciplined, timing-based combat approach
- Positioning Mastery: Advanced spatial awareness for future encounters
- Confidence Building: Establishes foundation for more complex boss fights
Frequently Asked Questions
Q: What's the best time to heal during this fight? A: The spinning bell attack provides the longest safe healing window - stay at arena edges and heal during the full spin duration.
Q: How do I avoid taking damage from falling debris? A: Keep moving between attacks and watch for shadow indicators on the ground. Platform elevation often provides safety from ground debris.
Q: Is it better to fight from platforms or ground level? A: Mixed positioning works best - use platforms to avoid ground explosions, but drop down for optimal punish angles on bell slams.
Q: What should I do if I get caught in a bad position? A: Prioritize escape over damage. The Bell Beast has consistent patterns - missed opportunities will come around again.
Q: How many hits can I safely land after a bell slam? A: Generally 1-2 hits depending on your weapon speed and positioning. Don't get greedy - the recovery window is generous but finite.
Related Guides & Strategies
- The Marrow Area Guide: Complete exploration of the Bell Beast's domain
- Heavy Boss Tactics: General strategies for slow, powerful enemies
- Platform Combat Guide: Mastering vertical arena navigation
- Patience-Based Combat: Techniques for timing-focused encounters
- Environmental Hazards: Managing debris and area denial effects
This comprehensive guide should provide all the strategies needed to defeat the Bell Beast and progress deeper into The Marrow's mysteries.
Open Interactive Map (All Areas)
Opens the full interactive Silksong map in a new tab.


