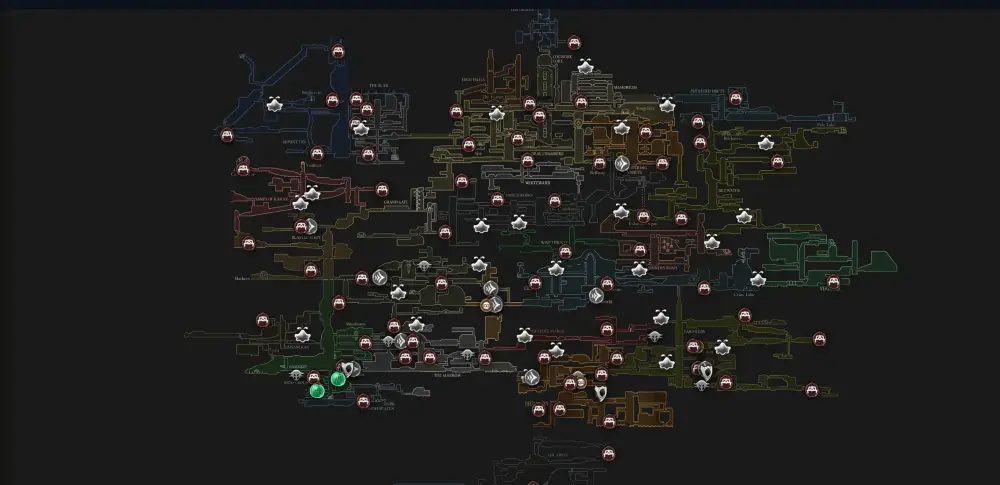
The Abyss represents Silksong's most unforgiving environment, featuring treacherous depths, blind drops, and deadly hazards that test even experienced players. This dark and punishing region demands exceptional caution, path memory, and strategic checkpoint management. Every descent carries significant risk, making patient exploration and frequent retreat to safety essential for survival in these hostile depths.
Overview
Dark, punishing platforms and hazardous drops. Path memory, patience, and frequent rests are essential.
Map Highlights
- Benches: Rare but crucial—anchor each descent tier.
- Via Bells: Reduce the climb back out after deaths.
- Merchant: Shakra occasionally sells the Abyss map from a safer alcove.
Get the Abyss Map (Shakra)
- Approach: Follow signage from upper routes; listen for humming near safer ledges.
- Buy and rest: Purchase the area map, then rest at a bench to update parchment. Quill/Compass help a lot in low‑visibility routes.
- Missed it? Shakra can sell missed maps later—check in once you've progressed.
Hazards & Traversal
- Blind drops: Probe with short hops; avoid leaping into unknown shafts.
- Fumes/spikes: Read room layouts; clear ranged threats before narrow jumps.
- Moving platforms: Commit only after clearing angles of attack.
- Return loops: Open levers/doors as soon as you find them—saves minutes per attempt.
Suggested Descent Loop
- Entry → First Bench: Secure the nearest bench to anchor retries.
- Bench → Shakra: Purchase the Abyss map; add Quill/Compass for tracking.
- Scout tiers: Clear one tier at a time; mark risky jumps for returns.
- Open shortcuts: Flip levers/doors to create climb‑back paths.
- Extend depth: Push a room or two deeper per run; bank progress frequently.
Bench Order (Suggested)
- Upper Ledge Bench: First safe reset before blind drops.
- Mid‑Depth Bench: Halves recovery time while learning tier routes.
- Bell‑Adjacent Bench: Ideal once the bell node is active for exits.
Tips for the Depths
- Patience beats speed: Don't chain jumps without vision; use short tests.
- Control space: Pull enemies into safer ledges before crossing.
- Prep build: Extra health and sustain crests help offset chip damage.
Connections
- Interior: Lower networks and late‑game hubs
- Utility: Routes that loop back via bell travel after key unlocks
FAQ
Where can I find the map vendor in The Abyss?
Shakra occasionally appears along a safer alcove near the early descent tiers. Listen for her distinctive humming sound and purchase the area map to improve navigation in the low-visibility environment.
How do I avoid falling into deadly hazards?
Use short probe jumps instead of committing to long leaps into unknown areas. Clear ranged threats first before attempting narrow jumps, and always maintain escape routes back to safer ledges.
What mobility tools help most in The Abyss?
Wind gliding and double-jump abilities significantly improve safety by providing more air control and recovery options. See our wind gliding guide for specific techniques.
How should I approach the descent tiers?
Clear one tier at a time and mark risky sections for future attempts. Open shortcuts immediately when found, as they save crucial minutes during subsequent runs and recovery attempts.
What build preparation helps survive The Abyss?
Extra health and sustain crests help offset environmental chip damage. Prioritize survivability over damage output, as staying alive is more important than clearing enemies quickly in this hazardous environment.
Related Guides
Open Interactive Map (All Areas)
Opens the full interactive Silksong map in a new tab.

