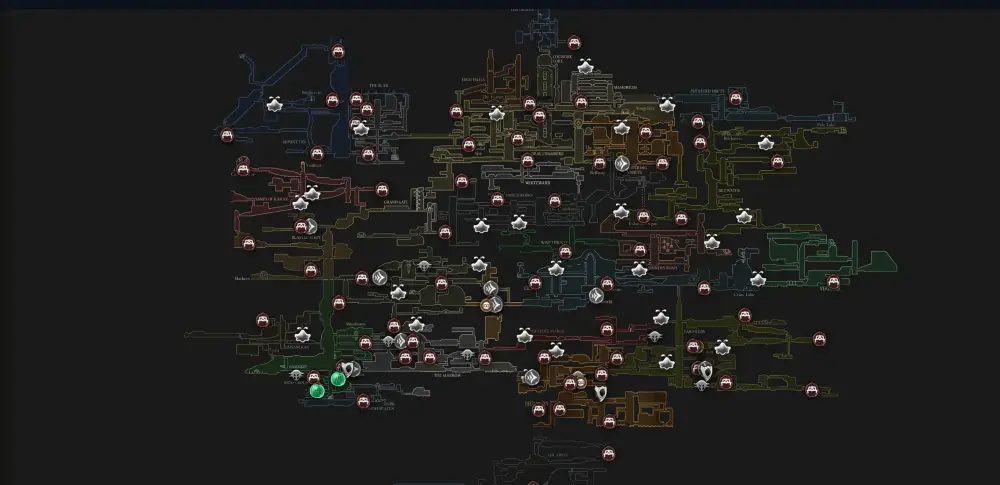
The Putrifield Ducts present some of Silksong's most challenging environmental hazards, featuring toxic fumes, unstable platforms, and tight navigation spaces. This industrial maintenance area requires precise timing, careful hazard management, and patient exploration to navigate safely. Success depends on understanding emission cycles, managing gear durability, and establishing secure checkpoint patterns throughout the dangerous tunnel network.
Overview
Hazard channels with tight jumps, fumes, and patrols. Short loops and cautious clears matter more than speed.
How to Get to Putrifield Ducts
- Approach: Follow industrial signage from neighboring corridors and hubs.
- Early plan: Secure a bench at a junction, then purchase the area map from Shakra to chart vents and loops.
- Utilities: Unlock levers early to create fast return paths during vent timing practice.
Map Highlights
- Benches: At junctions—rest often to bank progress.
- Via Bells: Great for skipping back through cleared ducts.
- Merchant: Shakra may set up in a side conduit for map sales.
Get the Putrifield Ducts Map (Shakra)
- Approach: Follow industrial signage from neighboring routes; listen for humming.
- Purchase & rest: Buy the area map and rest at a bench to update parchment. Quill/Compass improve tracking in tight tunnels.
- Missed it? You can meet Shakra later to buy missed maps.
Route Tips
- Hazard pacing: Clear enemies first, then make precision jumps.
- Resources: Carry enough for repairs if hazards chip gear.
- Links: Often ties into Underworks and industrial routes.
Connections
- Utilities: Underworks
- Industrial: Cogwork Core, Grand Gate
Hazards & Traversal
- Fumes/vents: Watch emission cycles; move during lulls, wait out bursts.
- Tight ledges: Take short hops; avoid greedy dashes along slick platforms.
- Moving platforms: Clear ranged patrols before committing to rides.
- Return loops: Flip levers to create quick paths back to benches/bells.
Suggested Scout Loop
- Entry → Junction Bench: Stabilize your checkpoint near the first junction.
- Bench → Shakra: Follow signage/humming to buy the ducts map; add Quill/Compass.
- Side conduits: Clear short branches between fume bursts; mark tougher jumps.
- Lever loop: Open a return path to your bench or bell.
- Deeper pass: Extend one segment at a time, returning to bank progress.
Bench Order (Early)
- Junction Bench: First safe reset near core split.
- Mid‑Duct Bench: Reduces downtime during vent timing practice.
- Bell‑adjacent Bench: Best once the bell is active for fast shuttles.
Tips for Fumes & Vents
- Count cycles: Enter during quiet windows; bail out early if timing slips.
- Control space: Pull enemies back into safe pockets before jumps.
- Heal windows: Use corners and low vents as cover between bursts.
FAQ
Where can I find the map vendor in Putrifield Ducts?
Shakra sets up shop in a side conduit near main signage areas. Listen for her distinctive humming sound to locate her shop within the safer sections of the duct network.
How do I handle the toxic fume cycles safely?
Count emission cycles and enter areas only during quiet windows. If timing becomes uncertain, bail out early to safer platforms. Use short hops instead of long dashes to maintain better control.
What should I do about gear damage from hazards?
Carry sufficient resources for repairs, as toxic environments will chip away at your equipment. Consider survivability crests that reduce environmental damage or provide additional protection.
Which mobility tools help most in Putrifield Ducts?
Quill and Compass are essential for navigation in the tight tunnel network. Basic movement skills are sufficient, but precise timing matters more than advanced mobility options.
How do I create efficient return paths?
Prioritize finding and activating levers that open shortcuts back to benches and bell nodes. These return loops are crucial for safe exploration and reduce time lost during hazard practice.
Related Guides
Open Interactive Map (All Areas)
Opens the full interactive Silksong map in a new tab.

