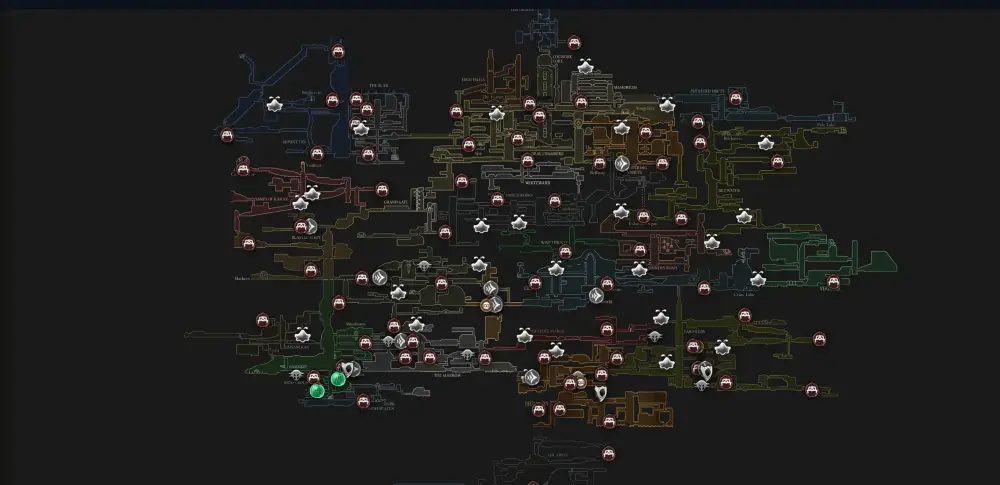
Hunter's March stands as one of Silksong's most combat-intensive areas, featuring challenging gauntlet sequences, powerful wind currents, and arena-style encounters. This demanding region tests both your combat skills and environmental navigation through windy verticals and multi-encounter chains. Success requires strategic planning, proper build preparation, and mastery of wind-based traversal mechanics.
Overview
Combat-forward region featuring windy verticals, arena clusters, and long lateral stretches. Expect multi-encounter chains and occasional traps; plan loops that return to benches and bellways.
Map Highlights
- Benches: A bench toward the upper reaches; secure it to anchor retries during gauntlets.
- Bell travel: Useful for shuttling in/out once activated.
- Map vendor: Shakra appears along the approach; listen for humming and look for signage.
Get the Hunter's March Map (Shakra)
- Approach: Enter from neighboring routes via bellways or upward climbs.
- Find Shakra: On a main corridor or just off it; buy the map and rest to update.
- QoL: Quill/Compass help across windy verticals and branching arenas.
Hazards & Traversal
- Wind lifts: Time ascents to avoid aerial knockbacks during gusts.
- Traps/locks: Some benches require interacting with nearby mechanisms before use.
- Gauntlets: Break chains into segments; heal behind cover and reset at benches.
Route Tips
- Prep builds: Swap to survivability crests/tools before long chains.
- Short arcs: Scout in arcs from a bench to reveal loops and shortcuts.
- Bell-first: Prioritize unlocking the local bell node to shorten recovery.
Suggested Gauntlet Loop
- Entry → First Bench: Stabilize here to checkpoint before windy climbs.
- Bench → Shakra: Follow signage/humming to buy the Hunter's March map; add Quill/Compass.
- Wind shafts: Practice short hops; clear fliers before committing to long verticals.
- Door/lever loop: Open a shortcut back to your bench or the bell.
- Arena chain: Clear one or two rooms at a time; reset at the bench between attempts.
Bench Order (Early)
- Lower Approach Bench: Closest checkpoint to wind shafts and first arenas.
- Mid‑Climb Bench: Reduces recovery when practicing gust timings.
- Bell‑side Bench: Ideal once the bell node is active for quick shuttles.
Boss: Savage Beastfly (Mid‑Region)
- Location: Toward the mid/upper routes of Hunter's March.
- Prep: High survivability crests and safe heal windows between gusts.
- Strategy: Control space; bait charges during calm wind moments, then punish.
- Guide: See /guides/tutorial/savage-beastfly-boss-fight.
Tips for Arenas & Wind
- Fight the room first: Clear adds/hazards before focusing on elites.
- Use cover: Pillars and ledges break line‑of‑sight and create heal windows.
- Watch gust cadence: Move during lulls; avoid jumps at peak gusts.
FAQ
Where can I find the map vendor in Hunter's March?
Shakra appears on or near the main corridor approach. Listen for her distinctive humming sound and follow area signage to locate her shop along the primary route.
How do I handle the wind mechanics safely?
Time your ascents during wind lulls and practice short hops instead of long jumps. Clear flying enemies before attempting vertical sections, and always have a fallback plan to safer platforms.
What makes Hunter's March challenging?
The area combines combat gauntlets with environmental hazards like strong wind currents. Multi-encounter chains test your stamina, while wind mechanics add complexity to platforming sections.
Which tools help most in Hunter's March?
Mobility upgrades like double jump and wind gliding are invaluable. Survivability crests and healing tools help during extended combat sequences. See our wind gliding guide for details.
How should I approach the arena sections?
Break combat chains into manageable segments. Clear environmental hazards and weaker enemies first, then focus on elite threats. Use cover strategically and return to benches between attempts.
Related Guides
- /guides/tutorial/map-locations-early-game
- /guides/routes/100-percent-map
- /guides/tutorial/savage-beastfly-boss-fight
- /guides/tutorial/unlock-wind-gliding
Sources
- Walkthrough context: https://www.rockpapershotgun.com/hollow-knight-silksong-walkthrough-part-7
- Map location videos: https://www.youtube.com/watch?v=p6IpjvBI0bY
Open Interactive Map (All Areas)
Opens the full interactive Silksong map in a new tab.

